Sunday, February 14, 2016

These Books are Awesome! True Story.


It's the Love Month once again and for those who know Barney Stinson from the TV show "How I Met Your Mother",  you may remember that according to him, the day before February 14th is when single ladies become desperate and would lower their standards just to get a date on Valentine's Day, thus, February 13th is called Desperation Day.

Yup, that's from the legend that is Barney Stinson, the character played by Neil Patrick Harris. I was binge-watching HIMYM last week while cross stitching and it reminded me to revisit these books. I've had them for a long time, I skimmed through them a bit before but never got the chance to sit and really read. This time, I took some time to read but I gotta tell you, they're the type that's okay to just skim through, haha, for light reading, you know, when you just want to take a break after reading a suspense thriller or you're waiting for the next book on a series.

The Playbook, The Bro Code and Bro on the Go were authored by Barney Stinson and Matt Kuhn, a writer for HIMYM. I honestly didn't buy them to read, I already have an idea what to expect, I love books and I'm a big HIMYM fan, so when they made versions of the books featured in the show available to everyone, I made sure I got mine.


The Playbook - This is a compilation of the plays Barney uses to pick up women. It gives detailed instructions for every play and the plays are categorized as for the beginners, the amateurs, the weekend warriors, and the advanced. 

Most of the plays in this book are shown and acted out by Barney in the show and they were hilarious, reading them, hmm, entertaining but not as fun as watching Barney pretending to be a Duke, a bass player of a band, or his friend, Ted Mosby.

"Contained within these pages are every scam, con, hustle, hoodwink, gambit, flim-flam, stratagem, and bamboozle I've ever used or ever hope to use to pick up chicks and give them the business. Now, in an act of selfless charity, I'm passing this treasure of pleasure on to you as an easy-to-follow guide." - Barney Stinson


The Bro Code is simply a code of conduct for Bros. It's a set of rules Bros need to follow which Barney never failed to emphasize in several episodes of the show. Some are just simple and obvious, some are very detailed and complicated and are harder to remember. It's really a fun read. There's an audiobook version that I also want to get because it's voiced by Barney, Neil Patrick Harris himself.

I particularly like this one, Article 107 - A Bro never leaves another Bro hanging.


Bro on the Go, like The Bro Code is a set of rules for bros, a guide for active bros. As what it says on the back of the book, "Bro on the Go will aid a busy Bro in any situation he might face - at the beach, on the job, or with the ladies. Plus, it looks good stuffed in your pocket."


All these are clearly just for laughs, awesomely funny and witty. And like I said, only for light reading and I got them because I love the show. If you are too uptight, humorless, or an extreme feminist, they're not for you, specially The Playbook. Recommended for Barney Stinson fans. 

"When I get sad, I stop being sad and be awesome instead. True story." - Barney Stinson


Read More »

Saturday, February 6, 2016

My Precious... Yarns from Baguio Hangar Market


My favorite cake, yarn cakes. Well, of course I specially love the edible ones but don't these yarn cakes just look so yummy? I know knitters and crocheters agree. If you are a yarn hoarder like me or just simply love yarns and you live here in the Philippines, you have probably heard about yarns from Baguio. Last year, I was finally able to visit the famous Baguio Hangar Market where mountains of yarns are sold. 


This is the stall where we bought my yarns. This is the second one we saw and a bit smaller than the first one located near the entrance of the market's second floor where the yarn sellers are. The first one sells acrylic yarns for Php 350 (a little over $7) per kilogram while it's only Php 300 (a little over $6) here in this stall.

I'm so sorry if I won't be able to give you the directions to the market because I honestly don't remember, lol. We just asked the friendly people there how to get to Baguio Central Market and once we're there, we again just asked around where the Hangar Market is.


They have different kinds of yarn, acrylic, cotton, and fancy yarns. It was almost nighttime when we got there so I didn't really look thoroughly at everything, I just went straight to choosing different colors of acrylic yarns. What I really wanted to buy were cotton yarns but they only have black and white available, they don't have hand-dyed ones, so I settled for the colorful acrylic ones. Maybe I'll learn how to dye cotton yarns in the future, it would be a useful skill for me. 


I bought a total of 3.5 kgs of yarn worth Php 1,050 (about $22). This would make lots of afghans, table runners, and more though I'm pretty sure I won't be able to use them all up in the near future. I just want to keep my yarn inventory full.


Each cake is more or less this big and I could make a bulky scarf from this and with a small leftover cake.


I made these Gryffindor and Slytherin scarves using just maybe a quarter or less than half of the cake of each color. Ravenclaw and Hufflepuff scarves are still in progress.

Of course, yarns are not the only stuff you can shop for when in Baguio.


You can try this delicious strawberry taho...


... or this strawberry ice cream with lots of chunky strawberry bits. We got them when we were in the strawberry farm.


Also in the strawberry farm vicinity, we got these broccoli, cauliflower, lettuce...


... Sagada oranges and this green pinipig.


Inside that brown paper bag is 1 kilogram of ground Benguet coffee. The aroma in that coffee store in Baguio Central Market where we got this was so intoxicating. We caught it from afar and we were immediately drawn to the place to buy coffee.


And these are the pasalubong stuff. We bought them from the vendors who gave us directions to the yarn stores, we promised them that we'd come back and buy from them after we got my yarns.


These ones, we got from the Good Shepherd store in Mountain Maid Training Center. The 12 oz. Ube Jam we got from the central market was Php 220 and the ones sold from the Good Shepherd store are Php 200, just a small difference.


And what else did we get? Our matching sweaters! Jordana's sweater was only Php 120 (around $2.50) and mine was only Php 230 (a little less than $5).


So cute on her, hihi. 

It was only my second time in Baguio and we're definitely going back. Maybe next time I'll get those white cotton yarns and dye them myself. 

Thanks for visiting. Ta-ta for now!


Read More »

Monday, February 1, 2016

DIY Cross Stitch Scroll Frame


I have this cross stitch project that I have started working on last year but I was only able to spend a week or two on it because I had to do other more important stuff. As I’m trying to limit my pending works to a minimum, yes I have a few, mostly huge crochet projects that I needed to leave for a while to make other crafts or just to take a break from the monotony of crocheting, I made up my mind to finish my cross stitch work in progress and not do any other crafty thing for a month or two, I even took a short break from blogging.

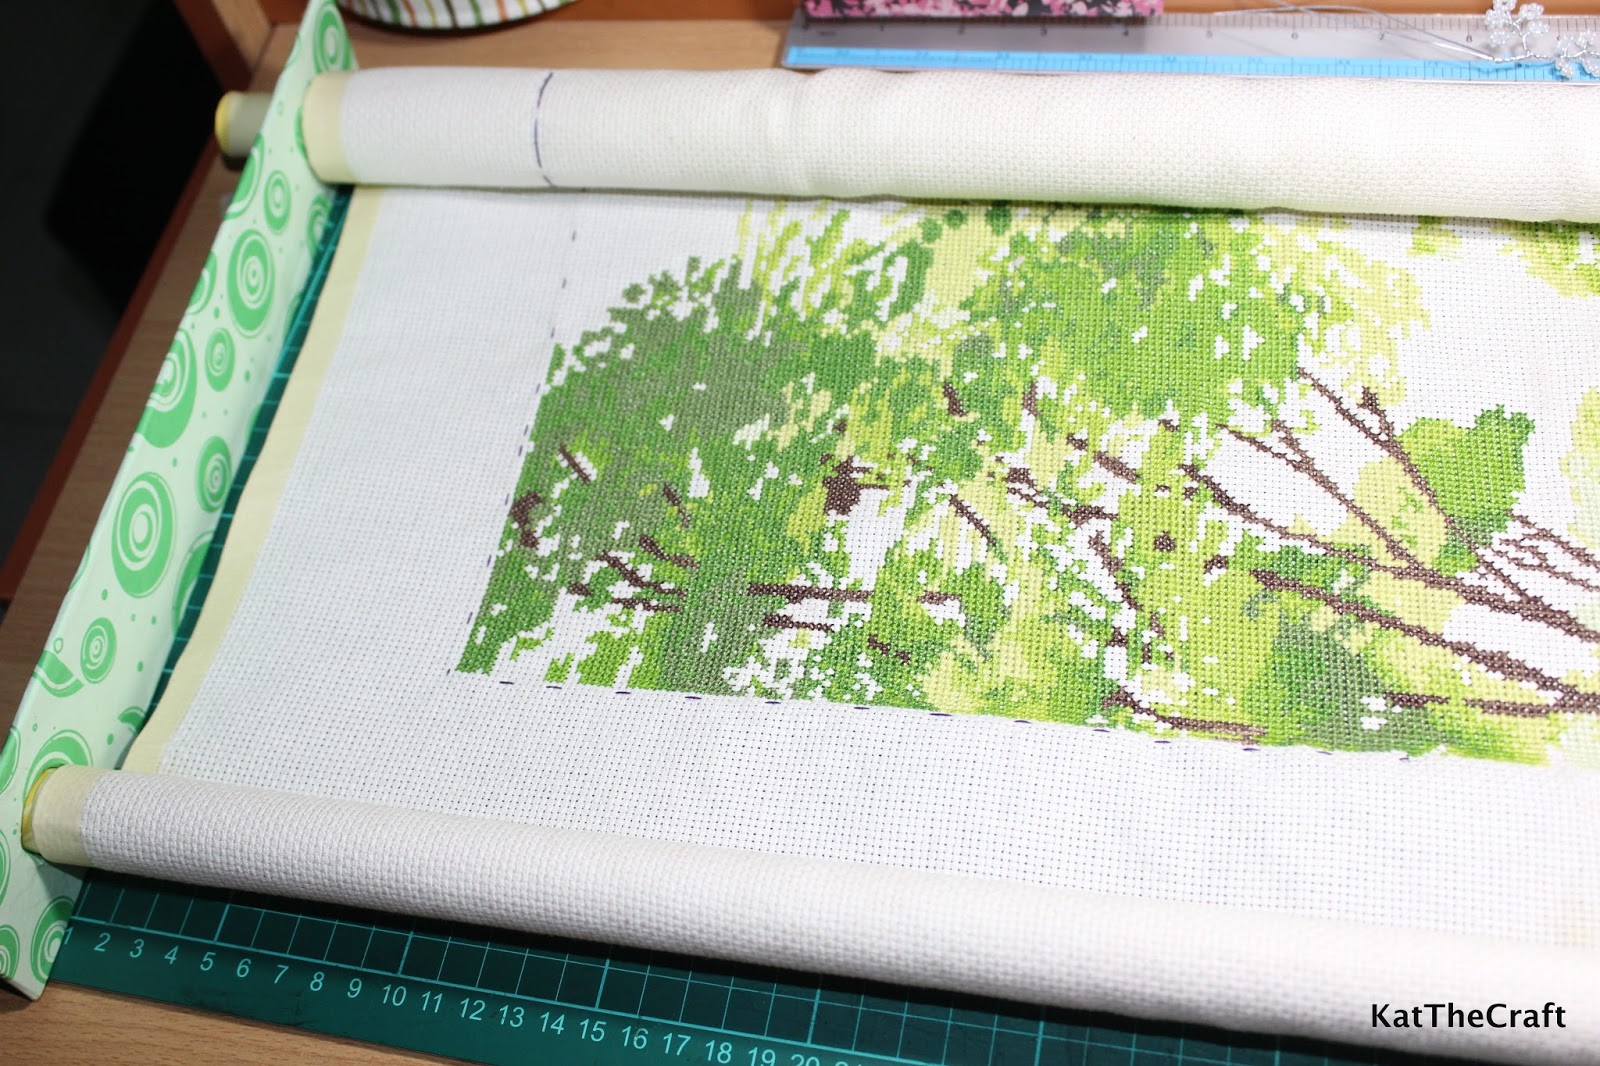
I’ve been cross stitching for a couple of weeks and I’ve noticed how hard it is to work on a fabric this size. I rolled it up and only expose the part I’m working on as it’s always done to keep the fabric neat. At first, the rolled up aida cloth was stiff so it was just smooth but as I work on it, I needed to change its position or where I handle it and turn it over and back from time to time, it gets limper so it’s easily folded and bent, now it’s crumpled and has creases all over.


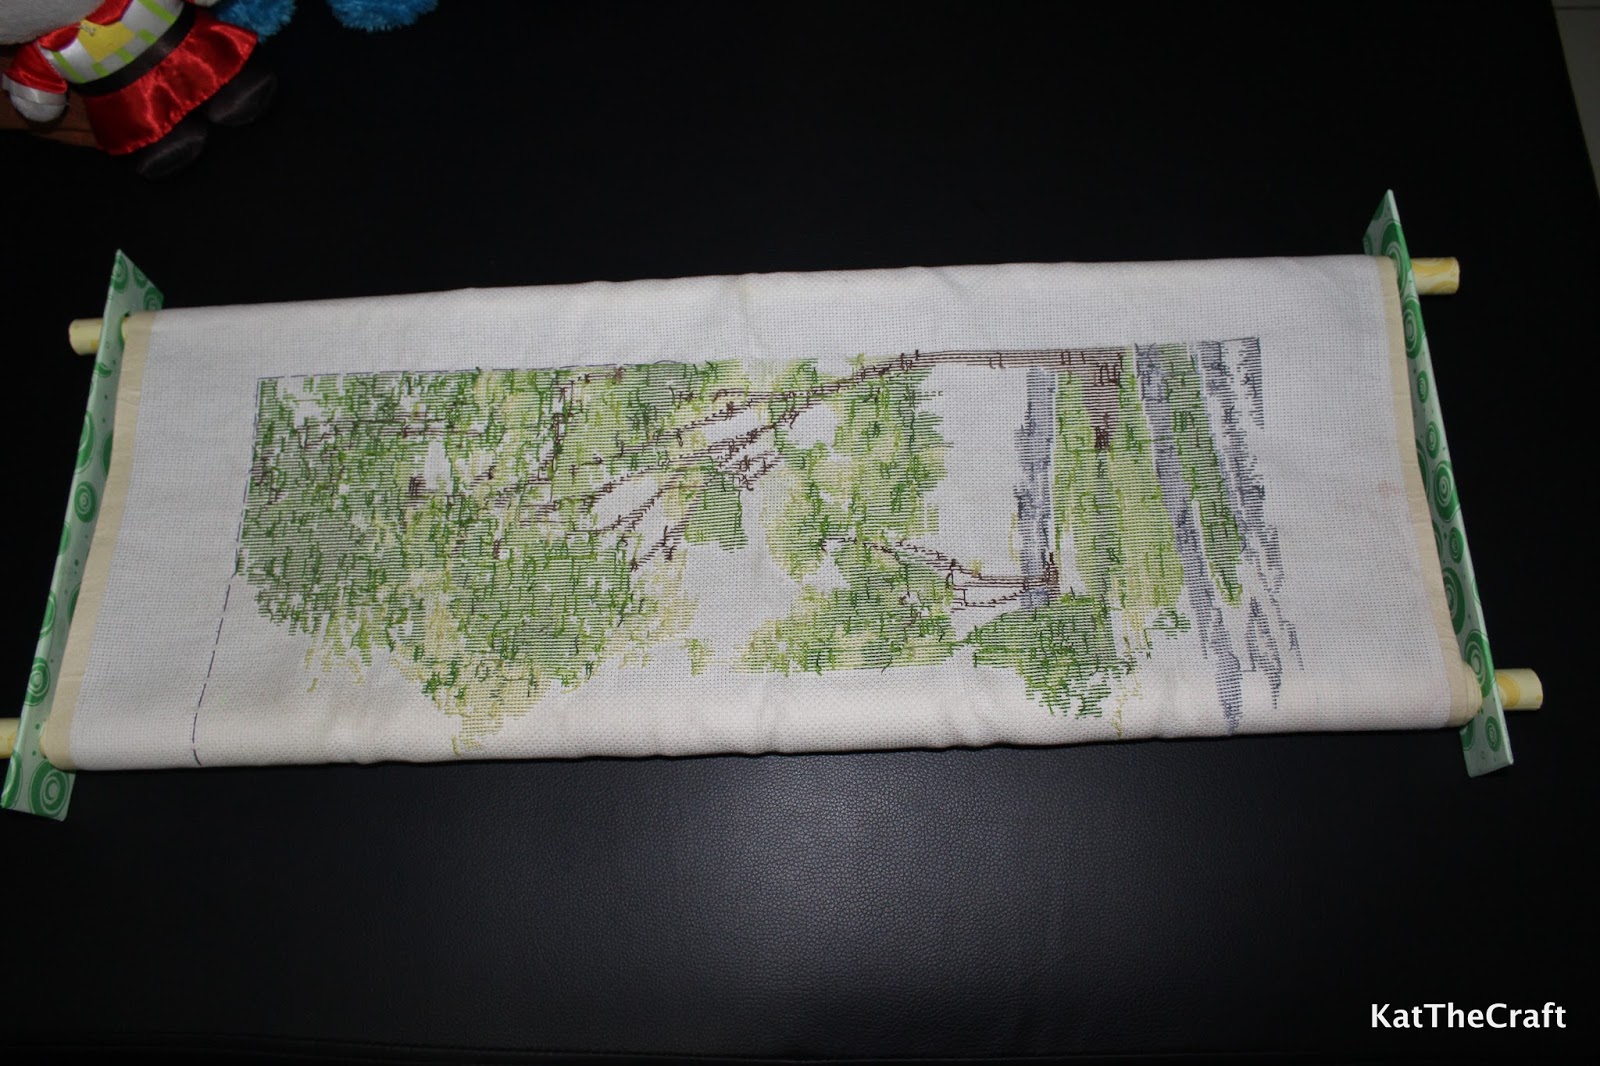
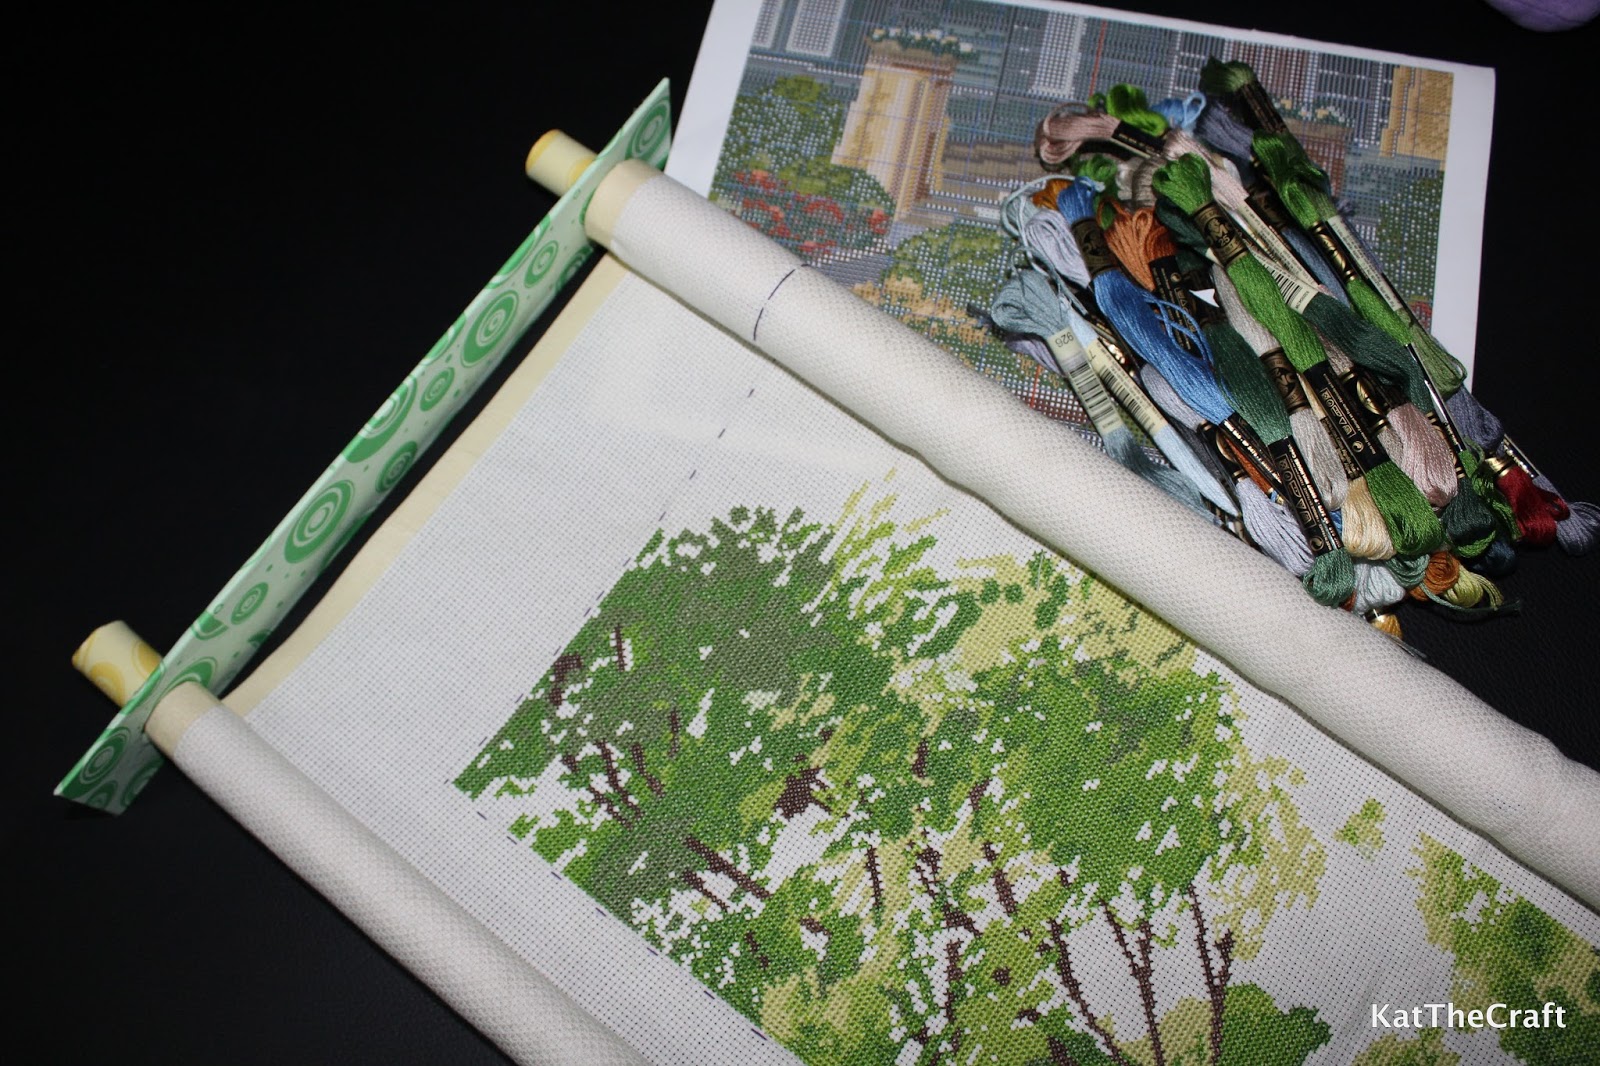
Here it is, to give you an idea how big the fabric actually is and what I’m talking about, see those creases? I’m not really stitching on the whole thing, I have some extra inches on all sides but still, it’s a big cross stitch project, and I’m using 16 count aida cloth so the squares are really small. This might just be easy peasy for avid cross stitchers but this is a bit challenging for me, the last time I cross stitched was more than a decade ago and the biggest I made wasn’t even half the size of this.

With my fabric situation, I gotta admit that the stitch tension is pretty messed up and I’m afraid I might get a not so nice finish. So, I’m in dire need of a scroll frame to keep the fabric smooth and my work easier. Alas, there’s no available scroll frame anywhere here in Manila, I’ve called more than five craft stores and all they have are embroidery hoops which just wouldn’t work for me. I’ve found out about this online shop here selling imported craft stuff but I need to have it pre-ordered based on their pre-ordering schedule then I gotta wait for the shipping time after that so I have to wait for at least two months and it’s not cheap, as well, I need to cough up a few thousand pesos. I tried to just order it from the US myself and have it shipped here and after all the charges, I needed to pay more than 100$. I feel that it’s just not worth spending money on this, I’m not even sure if I’m gonna do another cross stitch or other needlework projects after this, it’s probably going to be a one-time use, anyway. The solution? DIY!


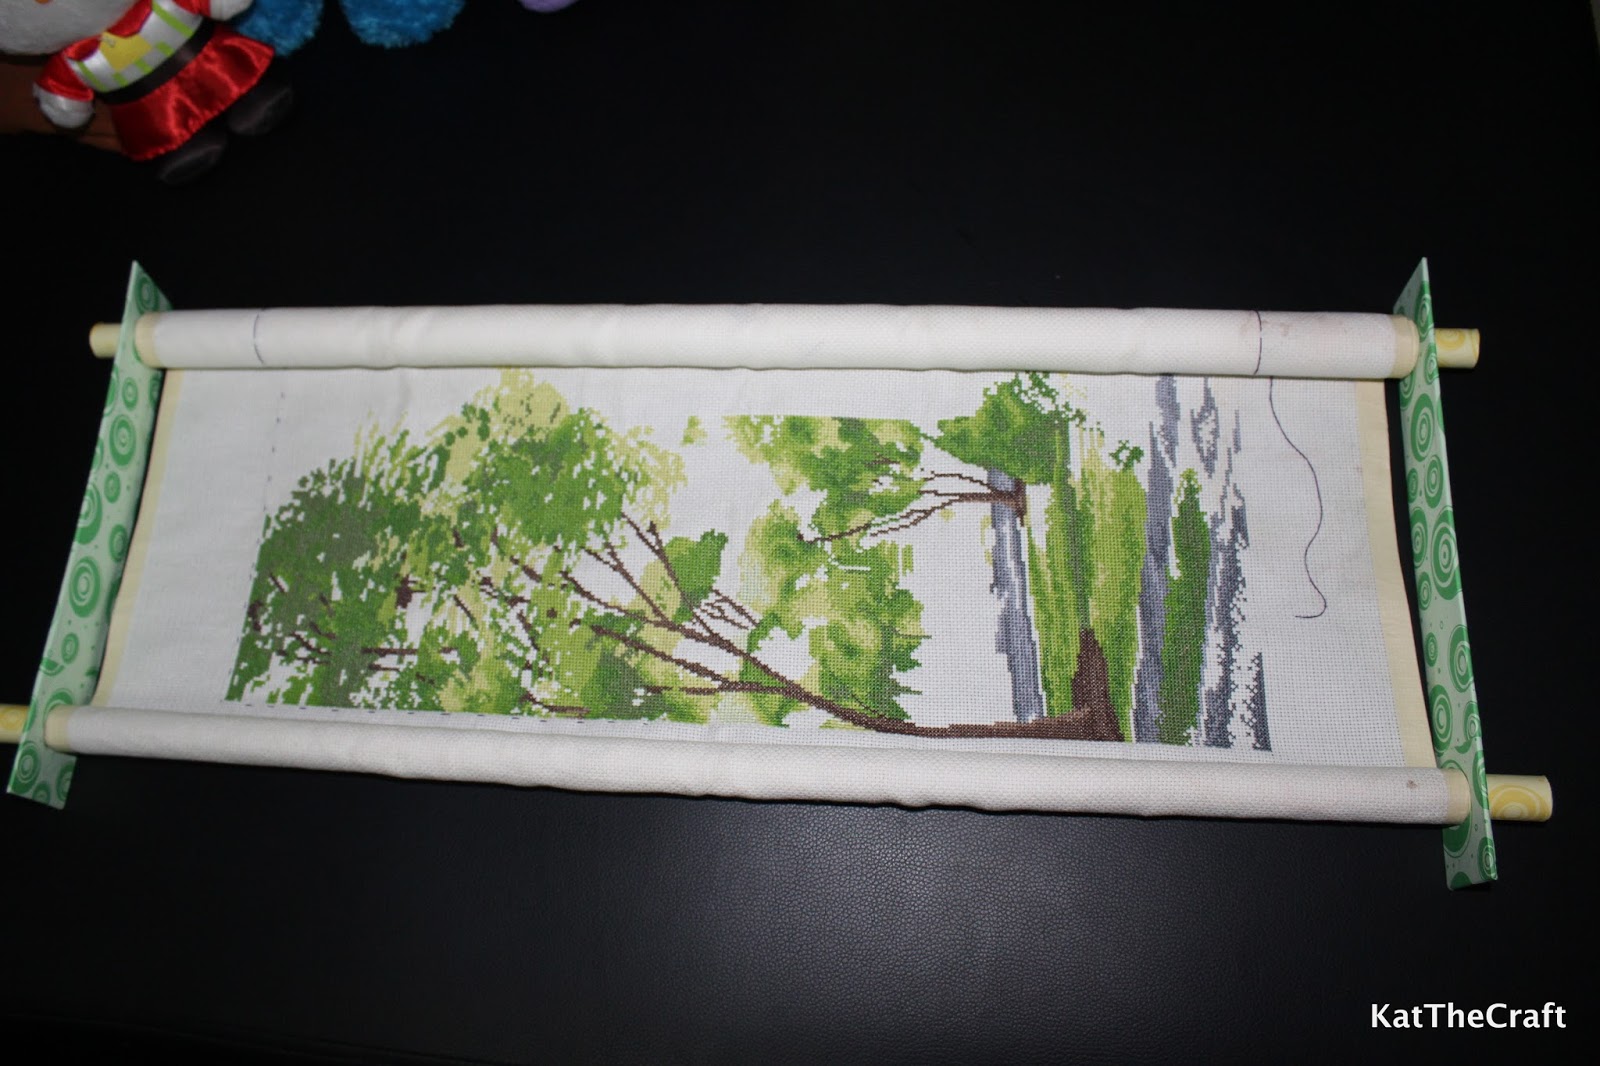
Tada! My very own cross stitch scroll frame and I only spent Php 60 (a little over $1) just for the PVC pipe, I have the rest of the materials in my craft supplies.


Here’s how it’s done. I asked my husband to buy me a pair of 30-inch long PVC pipes, these will be the scroll rods. I want the frame to fit on my table because it’s where I work. My fabric roll is a bit longer than 30 inches so I cut 2 inches from each side to fit the length of the rods. The hardware store sells pre-cut 10-ft long 20mm pipes for Php 60, it was the smallest and the lightest they have. My husband had the pipe cut in the store based on the measurements I gave him, since I only needed 60 inches for this project, I still have an extra that will surely be useful in the future.


I could just use the pipes like that but they look depressing to me so I decoupaged them with patterned paper. 


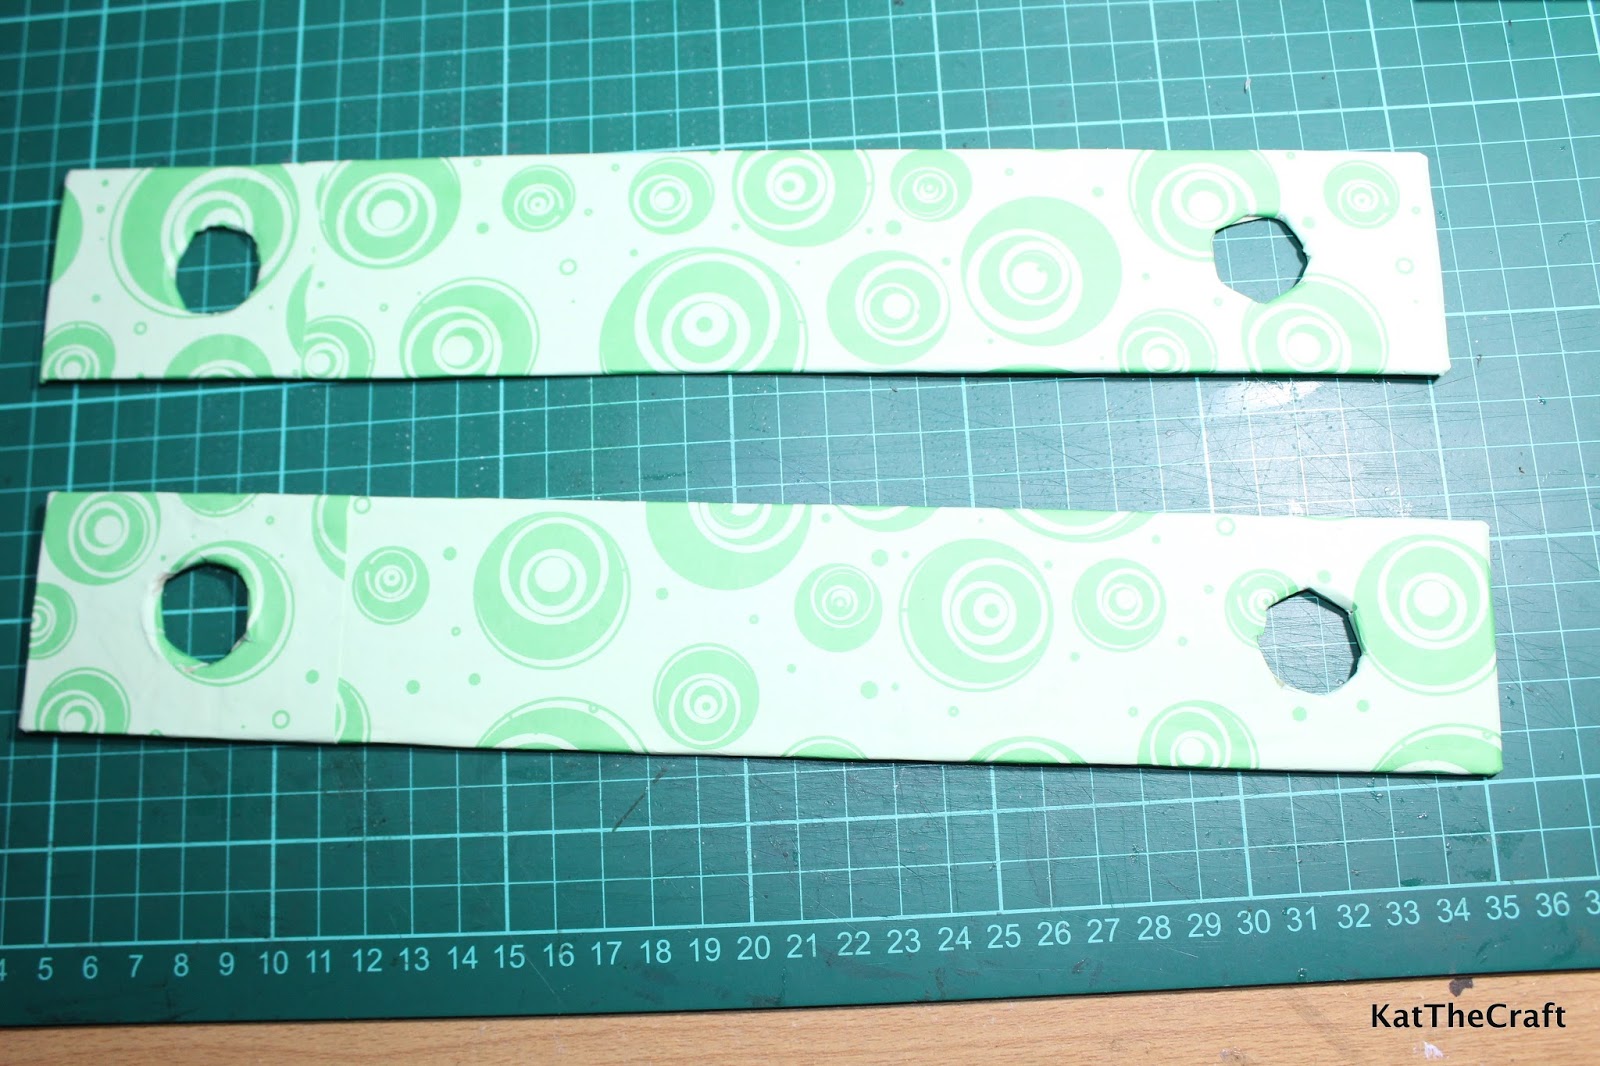
For the extender bars, I cut out card boards. They’re 12 x 2 inches. I have wood bars that I could use for this but I don’t have a tool for drilling holes. I recommend using wood if available and you have a hole saw or a drill that can do the work.


I carved out holes the size of the pipes on the boards using X-Acto knife.


The card boards are not thick so I had to glue two together to make one bar. I wanted to glue more boards together to make the bar thicker but carving the holes was a lot of work so I settled for two.


Again, not necessary, but I wrapped the bars with patterned paper. What can I do, I love colors! I didn’t smoothen out the paper around the holes to add grip when the scroll rods are inserted into the holes.


Almost ready. 


A knob can be added on each end of the scroll rods but I just settled on adding circumference to the rods by wrapping a rubber band and a few rounds of masking tape so they won’t slip through the holes of the extender bars.


It’s done. Using masking tape, I attached one edge of the fabric to one of the rods and did the the same to the other and just rolled them in. As shown in the pictures above, the fabric just rolls in and rolls out just fine.


No more problem with bending and creasing. I’ve been using this for a week already and I’m happy with it. Regarding the tension, I must admit I couldn’t get the fabric to really stretch and stay tight because my DIY frame doesn’t have a lock system, it stays stretched and straight for a while but would loosen a bit after working on it for several minutes. The key to keeping a nice tension -  large binder clips, I just attach one on the rolled up fabric around one rod, roll in the fabric on the other rod until I get a good stretch then attach another binder clip on it, I use two to four binder clips at a time.

To elevate the frame so I would have a nice space under the fabric where I can get my hand into when I’m stitching, I just put the extender bars on top of a couple of books, so the books serve as stands on both sides of the the frame. I first thought of making the extender bars high so it would serve as a stand as well but I guess it would make it harder to turn it over every time I needed to work on the back of the fabric so I just made them 2 inches.

I love how this turned out. It made my cross stitching moments easier and organized. If ever I decide to do more cross stitch projects and buy a nice scroll frame, I would get the one with a floor stand, with bars to clip on lamps, magnifying lens and the pattern. It’s too pricey for me but I would love to have one, I guess I would be inspired to cross stitch a lot if I have it, lol. Oh, forget about that, I’m not even halfway through this one I’m working on. Focus!

Gotta go, lots to do. Bye!


***Update: I was just able to contact DMC Creative World in Megamall (their contact numbers posted online are no longer available, I called the Focus Global main office and asked for the new one - it’s 625-2651), I had to try again because I have a good feeling about this, it’s just too bad I kept calling them two weeks ago and the lines weren’t working, and guess what? They have a 36-inch scroll frame with table top stand for Php 3,285 (roughly $69), not bad. It’s just a little big for my table. They used to have other sizes, too, but they’re out of stock. I’m happy with the frame I made but I’ll definitely check this out later.


Read More »

LinkWithin

Related Posts Plugin for WordPress, Blogger...